
Bio-Well / Bio-Electrography (GDV) – Getting Started – Part 3 – Calibration
Please read the procedure for the 2.0 calibration. (Pg. 72 – 73) in Bio-Well Manual .
[button link=”https://www.bio-well.com/gb/learn/learning.html” color=”silver”] LEARNING MANUAL[/button]
Calibration procedure for BW 2.0 model:
1. Connect the USB cable to the Bio-Well GDV Camera device and computer.
2. Remove the finger insert by holding the unit firmly while gently pressing downward and pulling outward (insert the thumb inside the insert and hold the insert between the thumb and index finger, then pull out the finger insert).
3. Clean the glass electrode with a cloth (you may use alcohol). NB! In dry conditions it is mandatory to clean the glass electrode with wet tissue to get rid of the static charge, while in wet conditions it is mandatory to finish cleaning by wiping with dry paper napkin to get rid of the excessive moisture.
4. Insert the calibration metal cylinder insert. Don’t worry, new model of calibration tool cannot damage the glass electrode.
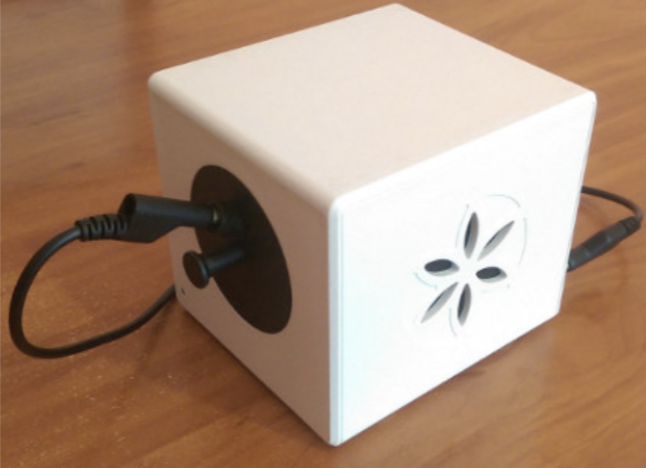
5. Connect the grounding cable to the spring knob on the top of the calibration insert.
6. Connect the other end of the grounding cable to the port («ground/earth») located at the rear of the Bio-Well GDV Camera device (pic. 87).