ABOUT TUTORIALS BIO-WELL INITIATES

PLEASE NOTE: This series of Getting Started Videos were with the Bio-Well 1.0 + Sputnik + Water Electrode. The principles of operations are similar. The upgrades you will see are:

  1. Bio-Well 2.0 has no stand. 
  2. Upgraded Packing Box ( Like the I-phone boxes)
  3. Violet Purple carrying case. 
  4. A pack of 100 Filters ($15 Value)
  5. 1 set of USB Cables (Windows & Mac)
  6. Sputnik design.

TUTORIAL PART 1 – INTRO

Bio-Well / Bio-Electrography (GDV) – Getting Started – Part 1 – Intro.

Welcome to our getting started series. Our intention is for you to receive the optimal service in making your Bio-Well experience rewarding and valuable. You are on your way to an inspired, enriched & empowered experience with the fabulous Bio-Well. 

Welcome aboard.

TUTORIAL PART 2 – REGISTRATION + WARRANTY

Bio-Well / Bio-Electrography (GDV) – Getting Started – Part 2 – Registration + Warranty

Welcome to our getting started series. Our intention is for you to receive the optimal service in making your Bio-Well experience rewarding and valuable. You are on your way to an inspired, enriched & empowered experience with the fabulous Bio-Well. 

Welcome aboard

TUTORIAL PART 3 – CALIBRATION

Bio-Well / Bio-Electrography (GDV) – Getting Started – Part 3 – Calibration

Please read the procedure for the 2.0 calibration. (Pg. 72 – 73) in Bio-Well Manual . 

[button link=”https://www.bio-well.com/gb/learn/learning.html” color=”silver”] LEARNING MANUAL[/button]

Calibration procedure for BW 2.0 model: 

1. Connect the USB cable to the Bio-Well GDV Camera device and computer. 

2. Remove the finger insert by holding the unit firmly while gently pressing downward and pulling outward (insert the thumb inside the insert and hold the insert between the thumb and index finger, then pull out the finger insert). 

3. Clean the glass electrode with a cloth (you may use alcohol). NB! In dry conditions it is mandatory to clean the glass electrode with wet tissue to get rid of the static charge, while in wet conditions it is mandatory to finish cleaning by wiping with dry paper napkin to get rid of the excessive moisture. 

4. Insert the calibration metal cylinder insert. Don’t worry, new model of calibration tool cannot damage the glass electrode. 

5. Connect the grounding cable to the spring knob on the top of the calibration insert. 

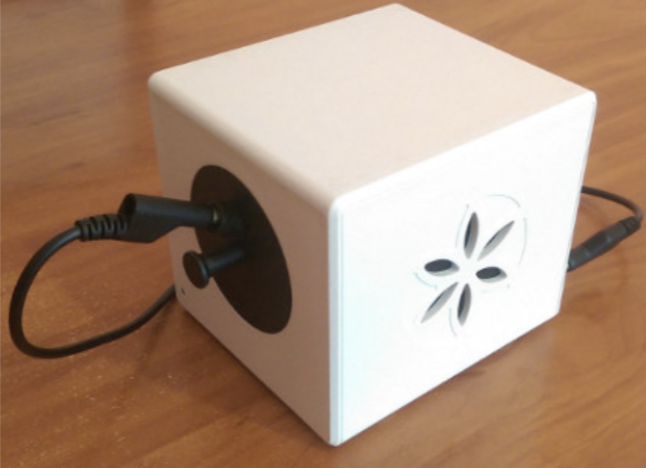
6. Connect the other end of the grounding cable to the port («ground/earth») located at the rear of the Bio-Well GDV Camera device (pic. 87). 

TUTORIAL PART 4 – CLIENT QUESTIONS BEFORE SESSION

Bio-Well / Bio-Electrography (GDV) – Getting Started – Part 4 – Client Questions before Session.

Welcome to our getting started series. Our intention is for you to receive the optimal service in making your Bio-Well experience rewarding and valuable. You are on your way to an inspired, enriched & empowered experience with the fabulous Bio-Well.

This video is critical for all practitioners to be attentive prior to scanning the 10 fingers. 

Welcome aboard.

TUTORIAL – Part 5 – Sputnik Sensor Setup

Bio-Well / Bio-Electrography (GDV) – Getting Started – Part 5 – Sputnik Sensor Setup

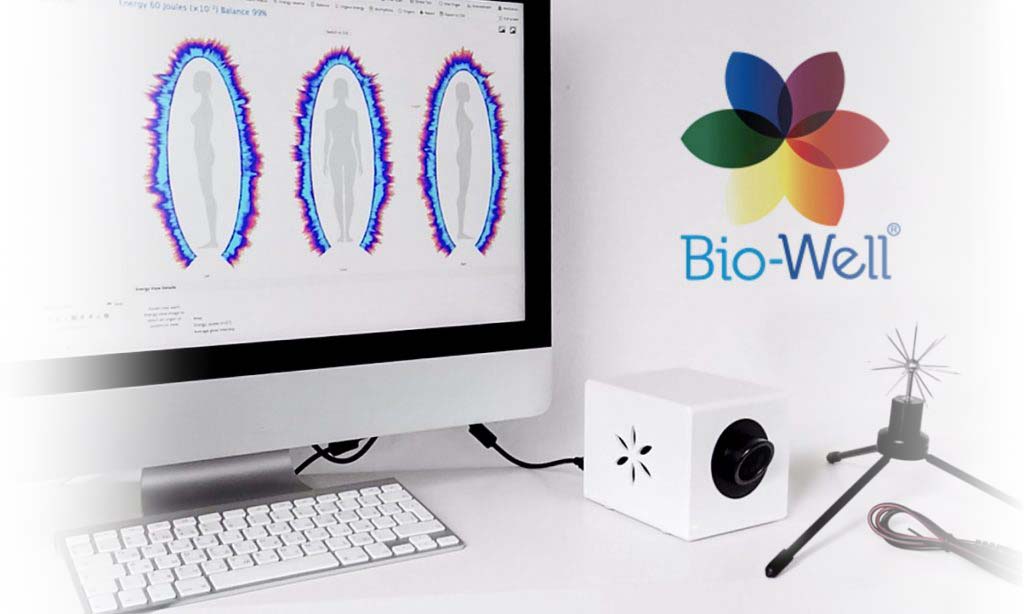
This is your basic introduction on the installation of the Sputnik sensor which assist to evaluate the “field”.

For more advanced applications and use contact Krishna for your private consultation via a zoom meeting. Learn more about the subtle energy fields, measurements, interpretations, and the benefits.  Applications to date are in the area of human intention to meditation, research in the areas of ceremonies (all elements), plant medicines, measuring subtle energy fields, vastu, feng shui, to geopathic zones and even the possibility of predicting anomalies in natural occurrences.